Living in a mild climate like the Pacific Northwest, with cool summers that rarely get above 70º F (22º C), it’s always sweater weather! And anytime is the right time to teach yourself to knit!
Most mornings I wear one of my hand-made cardigans. Even though it still feels like summer out with endless warm sunny days, when October comes around I start thinking about knitting again. However, many of my friends knit right through the summer months and are ready for hat weather in October.
My mother taught me to knit when I was a teenager. Even though I’m left handed, I decided I to learn to knit right handed because, after all, we knit with both hands. If you are left handed like me, watching videos is a great way to teach yourself to knit because you can mirror the teacher just as though someone was sitting opposite you.
The Basics of Knitting
The first step in following any knitting pattern it to cast on your stitches. There are many ways to do this, but in the video below I share my favorite way, which leaves a nice finished edge.
- First make a slip knot and slide it onto your left needle.
- Insert the other needle through the loop below the left needle.
- With your right hand, loop the yarn around the right needle in the counter-clockwise direction.
- Pull the yarn through with your right needle, and slide the loop onto the left needle.
- To start the next loop insert your right needle between the two loops, and repeat steps starting with #3.
- Continue to repeat steps 3 through 5 until you have the correct number of loops cast on to your needle.
Knit and Purl
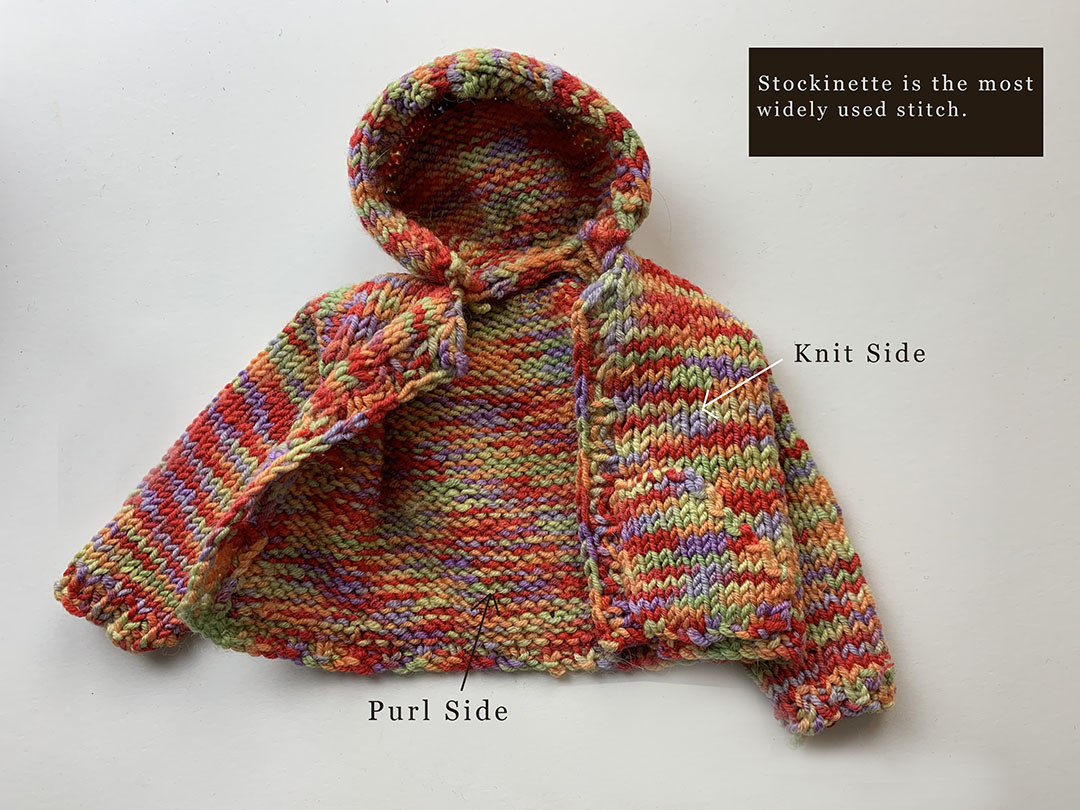
Knit stitches usually show on the outside of a simple sweater, and the purl stitches are worked on opposite rows, and are on the inside. To make ribbed bands at the wrists and the bottom of the sweater, knit and purl stitches are alternated either 1:1, 2:2 or 2:1.
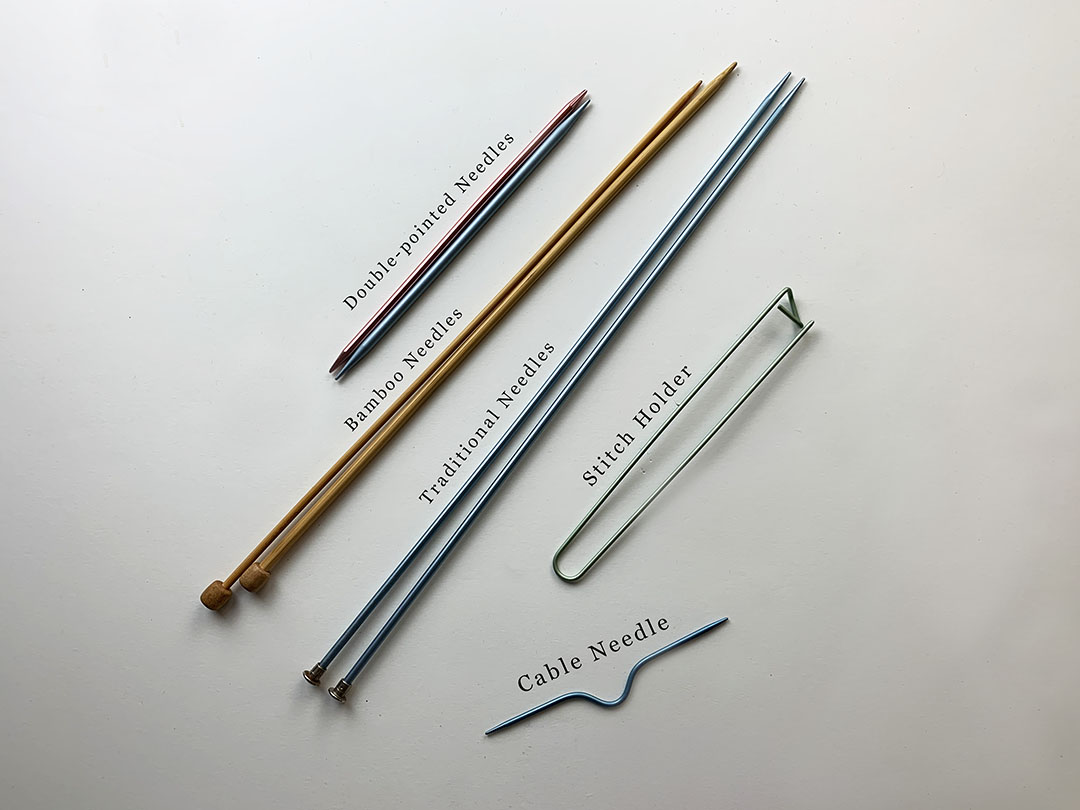
When knitting cable patterns, the purl stitches fill out the background, and the knit stitches make the raised cable pattern with the use of the short cable needle which allows the knitter to add twists and patterns to the knitting.
These are just a couple of common examples of how knit and purl stitches are often
English vs. Continental
Next, lets talk about the two methods of knitting. The right hand method is also called the English method since it is most commonly used in English speaking countries. In other European countries, it is more common to learn the Continental method. Both will feel awkward at first, but both methods can be knit with great speed by experienced knitters.
If you want to teach yourself it knit so that you can later learn Nordic knitting, or another form that uses multiple colors of yarn in the same row, it is best to learn both the English and Continental methods right from the start so you will be ready for two handed knitting in the future.
Below are examples of both the knit and pearl stitches in both methods.
English
The Continental method is the traditional method in many other parts of Europe. It’s sometimes referred to as the left hand method. In the Continental method, you loop the yarn around your left index finger, and scoop the yarn onto the needle in your right hand. In the English method you feed the yarn from your right hand to the left needle. Once your start working patterns like Nordic knits and Fair Isle, you will be knitting with both hands. It’s really your choice which method you use to learn to knit.
Teach Yourself to Knit with the Basics First
An important thing you need to know is that there are two main stitches, knit and purl. When you combine them, it’s called stockinette stitch. In stockinette stitch, the front stitches are knit, and the back stitches are purled. If you only knit in the knit stitch, and used straight needles, it would create a rib pattern. These stitches, knit and purl, are the two main stitches you need to learn in order to knit.
And lastly for the basics, you can knit using either in straight needles or round continuous needles. The sizes will be in US sizes and in metric.
Knitting for Dolls
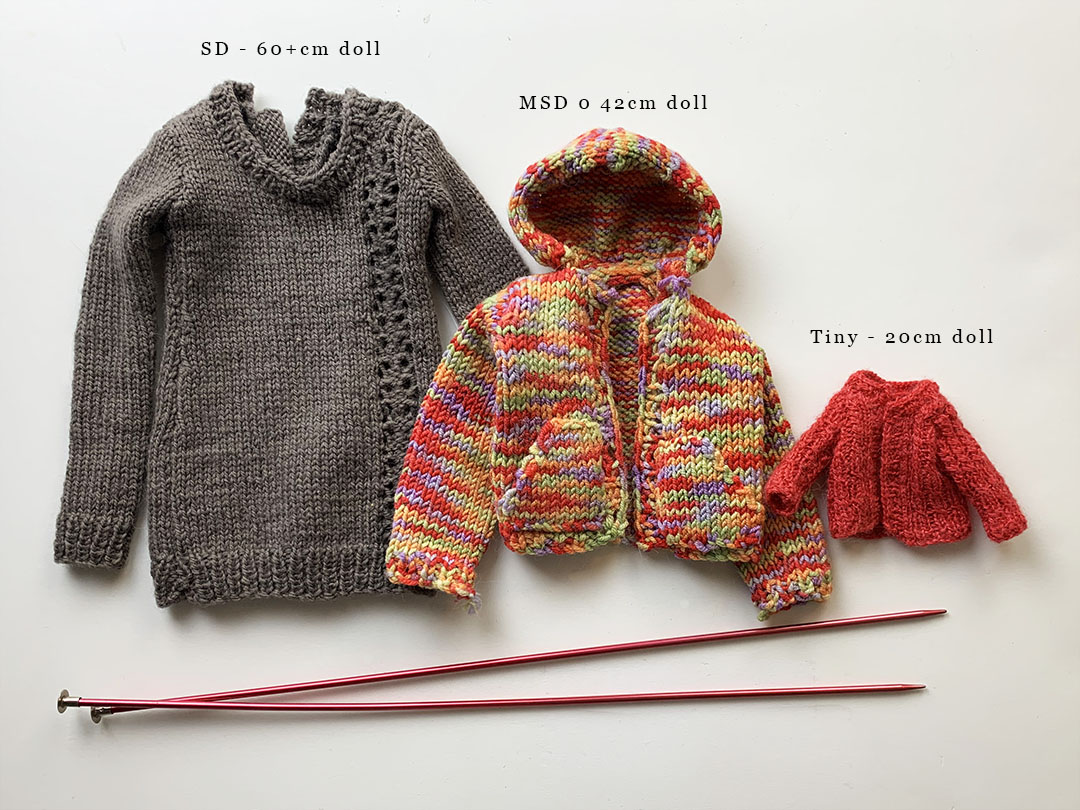
If you want to learn to knit so you can make clothing for your tiniest dolls, I recommend you learn to knit something for yourself first. That way, you learn the basics on larger needles. If you pick an easy project, it need not take a lot of time to complete.
Also, for your first doll project, I recommend using heavier yarn such as worsted, sport weight, or even bulky. Also heavier yarns knit up faster. Wait on fingering or lace yarn until you gain a little experience. These can both knit up nicely with size 1 US needles. Some of the knitters in the Den of Angels knitting forums, talk about knitting with 00000 needles, or even using thread for their yarn and a sewing needles for knitting needles! Believe me, they are not beginning knitters!
Den of Angels is also a great place to find free patters, or links to where you can buy inexpensive ones created specifically for many sizes of dolls. Also, it’s a great place to post photos, or ask for help.
My First Knitting Project
For my first project, I knitted a summer halter top. I chose it because there were no complicated stitches,and I thought it would be easy. The halter top was a flat piece, knit in stockinette, with no sleeves to worry about. But because it was knit with cotton yarn that had no stretch, it was a very poor choice to learn to knit.
I didn’t know how to make even stitches yet, and it really showed. Also, because I chose the pattern for it’s simplicity instead of whether I really liked it, it turned out to be something that I hardly ever wore. Plus, summer was over by the time I finished it!
Easy Way to Learn to Knit
1. Find a book with really good illustrations.
The book I used to learn to knit from wasn’t even purely a knitting book. It was called “Complete Guide to Needlework” and even though it’s an old book, you can still find used copies in used or online bookstores.
2. Practice different stitches or sample patterns.
You can practice cables, ribs and multi-color patterns this way. If you make little swatches of the different patterns, you waste less yarn while you learn.
3. Choose a relatively easy pattern to build up your skill.
When considering a pattern, look at the still level. This doesn’t mean knitting a completely plain sweater. For example, most beginners can handle a simple cable pattern. Also, knitting a pattern makes the process funner, and more interesting. Patterns usually have some sort of rating: easy, hard, beginner, advanced. But also, choose something that you like, and will enjoy wearing.
4. Check out the knitting videos on YouTube.
Sometimes watching someone work a stitch is easier than following the instructions and illustration in a book. Just type in the stitch you want to learn to knit. For example, that’s how I learned how to do the magic loop technique!
5. Visit your local knitting store.
Knitting stores often hold knitting classes, or host knitting groups. While you can definitely learn to knit on your own, having someone to explain the bits that are confusing you speeds your progress. Also, a knitting group is a great way to meet other knitters in your area, and get help from more experienced knitters!
6. Choose a yarn that is easy to work with.
The yarn should have a bit of stretch so that uneven stitches aren’t so noticeable. Consider the weight of the yarn, the size needles it will need, and even whether it is a yarn like mohair or angora that will tangle easily or be difficult to unravel if you make a mistake. Also, think about how the yarn will feel against your skin.
And lastly, make sure to check the gauge of the pattern by making a swatch. I often make a larger one, 8 x 8.
Teach Yourself to Knit with Reliable and Well Tested Patterns
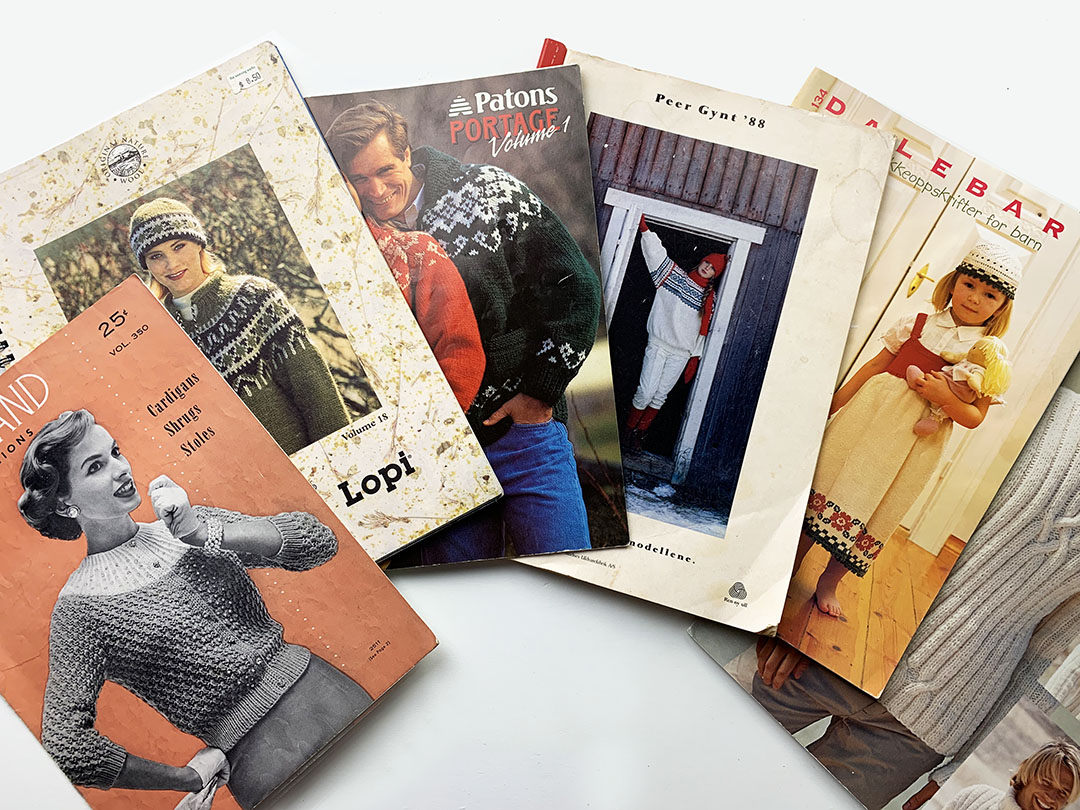
I hate to say it, because I really want to support independent designers, but a lot of the patterns out there are really poorly written by people who might be excellent knitters themselves, but have no idea how to write a pattern. If you just started to teach yourself to knit, look at commercial patterns, or ones in magazines, rather than on Ravelry. Choose the correct level for your skill.
When you get more experienced at knitting, it’s easier to look at a pattern, and see whether it is well written, and if the instructions make sense before you begin.
Also, read reviews of other people who have tried the pattern.
If you buy a pattern online, make sure you print it out. Take it with you when you go to buy your yarn.
And if you buy from a yarn shop, ask the sales person to look it over for you. If it is a small shop, they’ll be happy to help you with choosing a pattern that fits your skill level. Also, they can make sure you find the correct yarn if you need to substitute a different brand.
If I was to Learn to Knit All Over Again …
So did I take my own advice when I started to learning to knit? No, I did not.
After the halter project I made in a hard to knit with yarn, I chose for my second project a mohair sweater. It had an elaborate lace pattern down the front that even today, and dozens of sweaters later, I would still find challenging.
Luckily, my mom stepped in and knit the front panel for me. I knit the back and the sleeves that had a single cable running done them. With her help, I completed a complicated sweater, and got more experience.
I didn’t wear that first sweater much though. It took me several more sweaters to figure out that mohair was too scratchy for me.
That is the nice thing about knitting for dolls. They don’t care how uncomfortable the fabric, or how revealing the style.
So, like I said earlier, if you want to teach yourself to knit in order to make clothing for your dolls, try knitting something for yourself or a friend first. It’s easier to learn when you aren’t starting out on 00000 needles, and need a magnifier to see your stitches.
Anyone Can Learn to Knit!
With the internet, YouTube, and all the great knitting groups that are around today, it’s a lot easier to teach yourself to knit than when I started. Luckily for me I had my mom to teach me.
Do you knit? What was your first project?
